Pages

Friday 16 October 2020

Create Reading Comprehension Activities for the Remote Classroom with Quillionz

I first wrote about Quillionz back in 2018 and it’s great to see how far the product has come since then. At that time it was a free product that used AI to generate questions based around any text that you entered. You could then select and edit the questions you wanted to use and print these for the classroom.


These features are still available and there is still a lifetime free subscription available, but they have now added more features and developed some premium features that make this a product worth investing, especially if you need to create a lot of reading materials based around authentic text.

Just to recap, creating questions is very easy. You can just copy paste in your text, give it a title, select the educational domain it belongs to and then choose the keywords from the text that you want the reader to focus on. You can also bypass the keyword selection process and get Quillionz to choose for you if you choose.

Quillionz will then review your text for you and highlight any weaknesses in the writing, such as lengthy sentences, subjectivity or incomplete sentences.

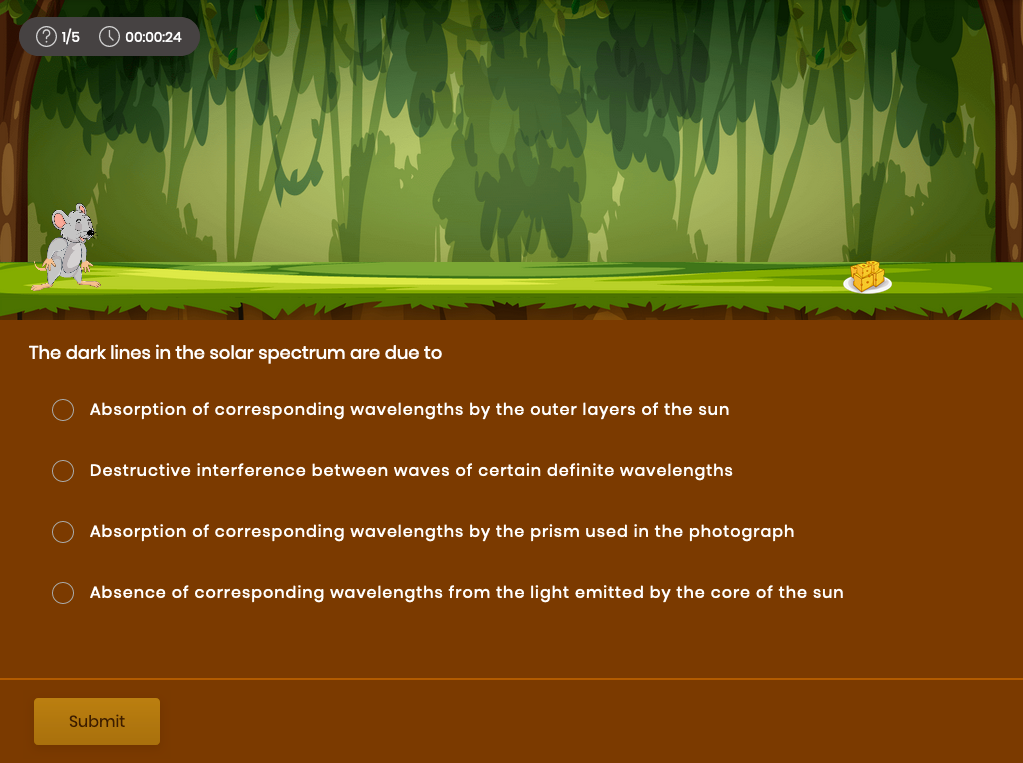
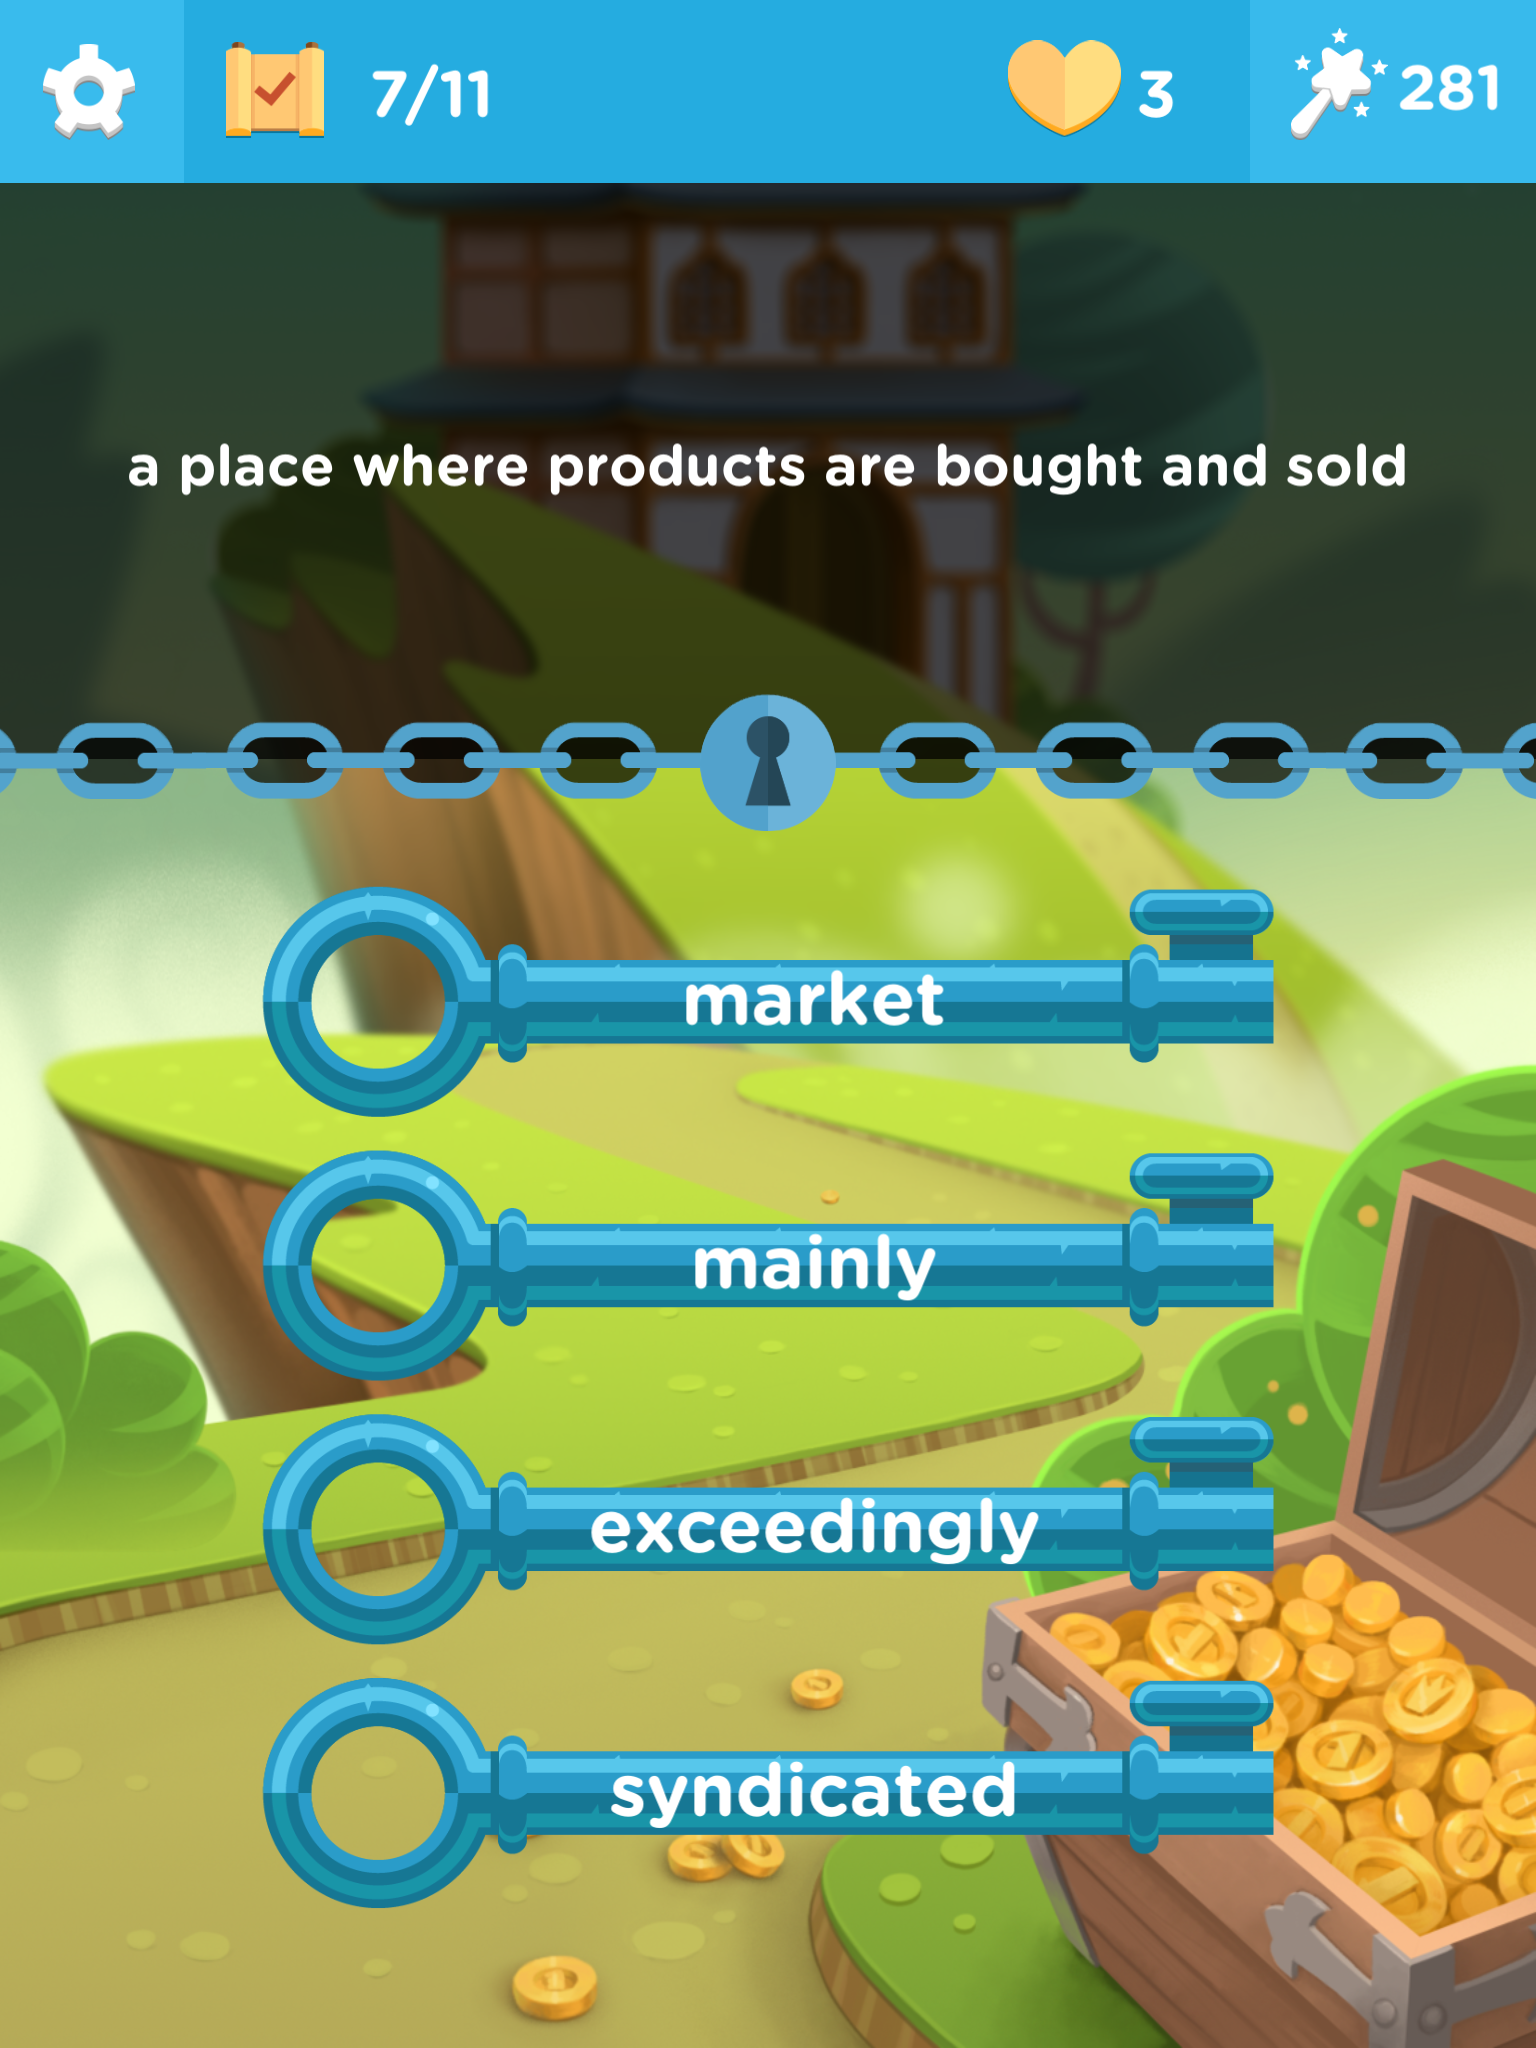
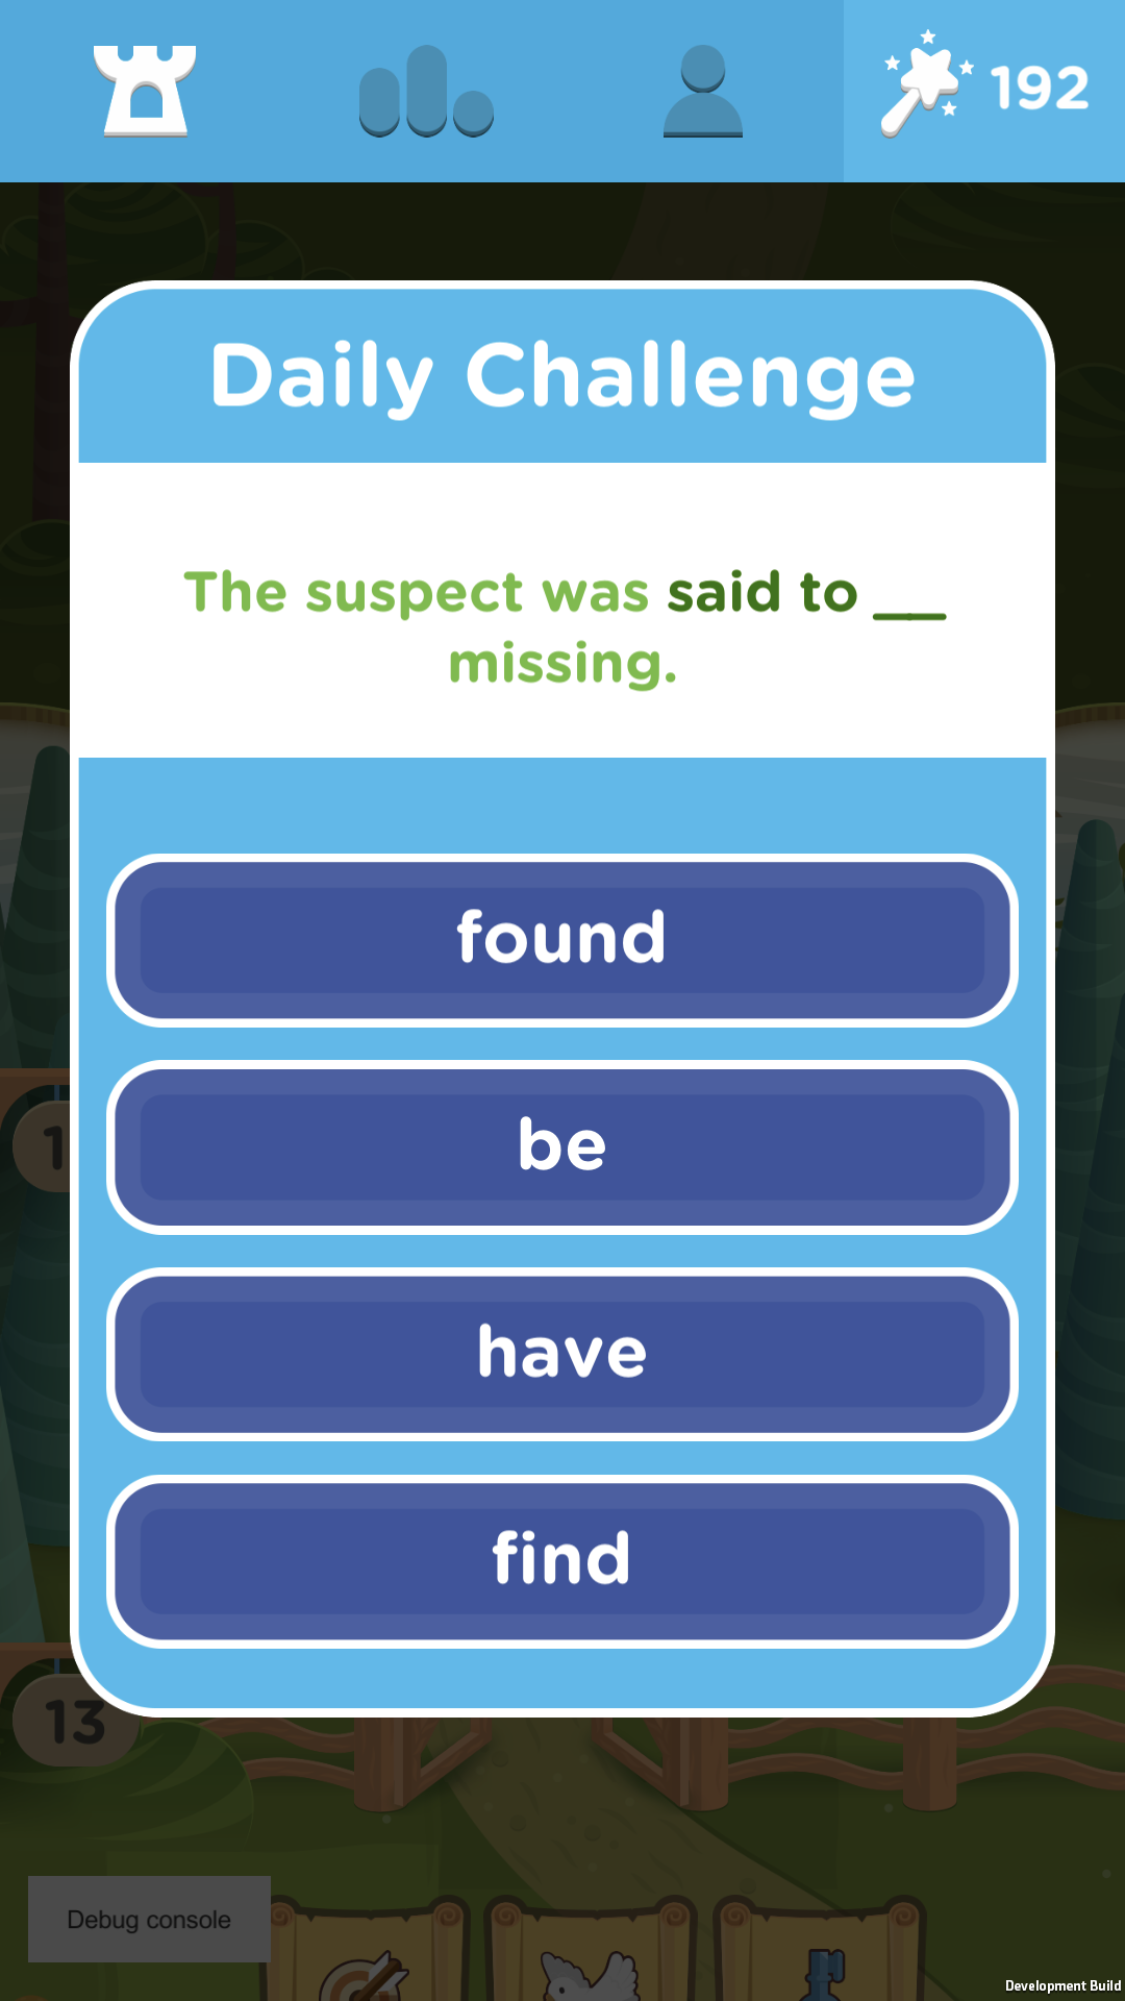
Next Quillionz uses AI to analyse the text and generate sets of questions for you to choose from. Once the questions appear you can select and edit the ones you want to use with your text. Quillionz creates a number of different types of questions for you to use.  This includes short answers, multiple choice and ‘recall’ questions (these are ones where they have to fill a gap in a sentence with the missing word from the text). The premium version Quillionz also includes WH questions and interpretive questions which push students to give more complex and open ended answers. 
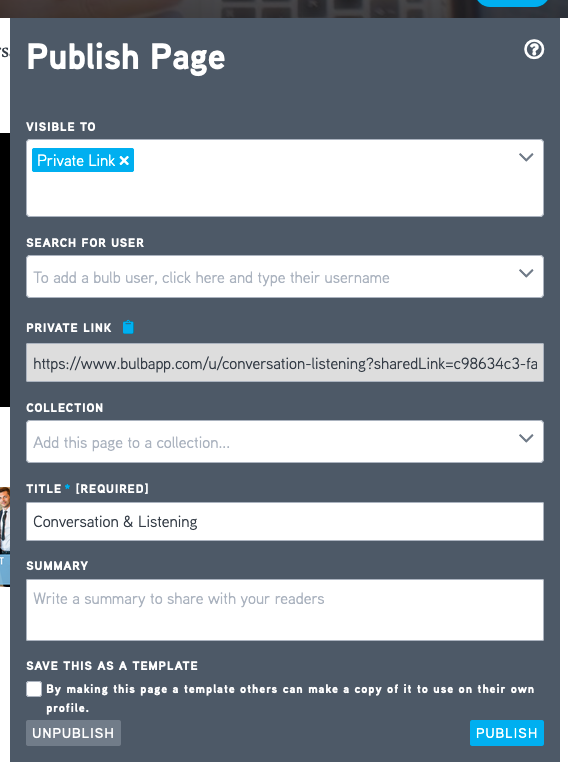
Once the questions have been created and you have chosen the ones you want to use, you have a number of ways of sharing them with students. You can either download them as a document by clicking on ‘Export’ or you can click on ‘Create Quillionz’. This option creates a sequence of flashcards that you can share with students. The students can then read the text and try to answer the questions and click on the flashcard to see the answer.  You share the flashcards by using a link, so this will work really well in the remote classroom and it will allow students to each work at their own speed.
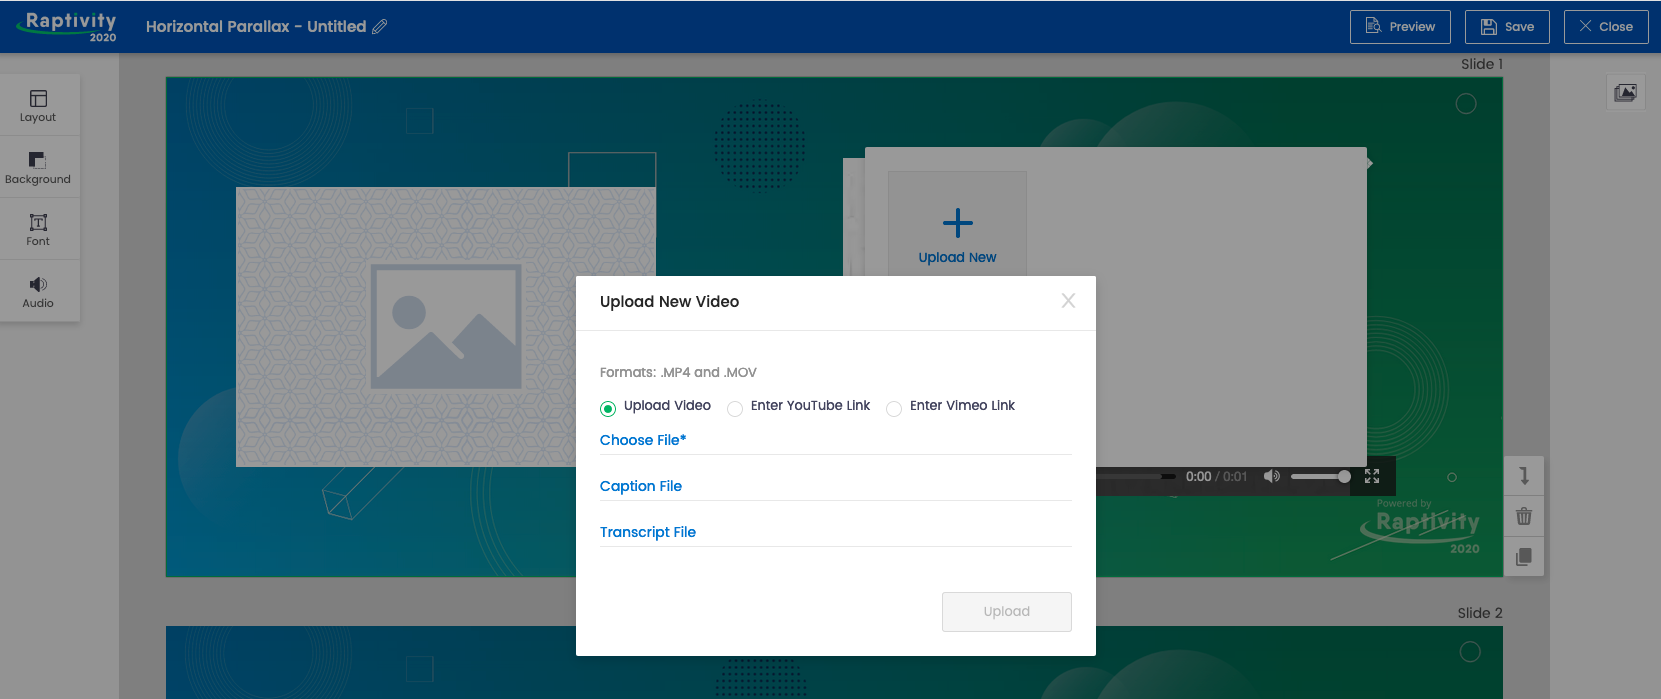
There is another option for exporting the questions to Raptivity. This is another product I’ve reviewed on this site. Raptivity enables you to turn the questions set in to a range of html5 interactive learning objects that can be deployed in online courses. So this can speed up the process of creating online courses considerably.

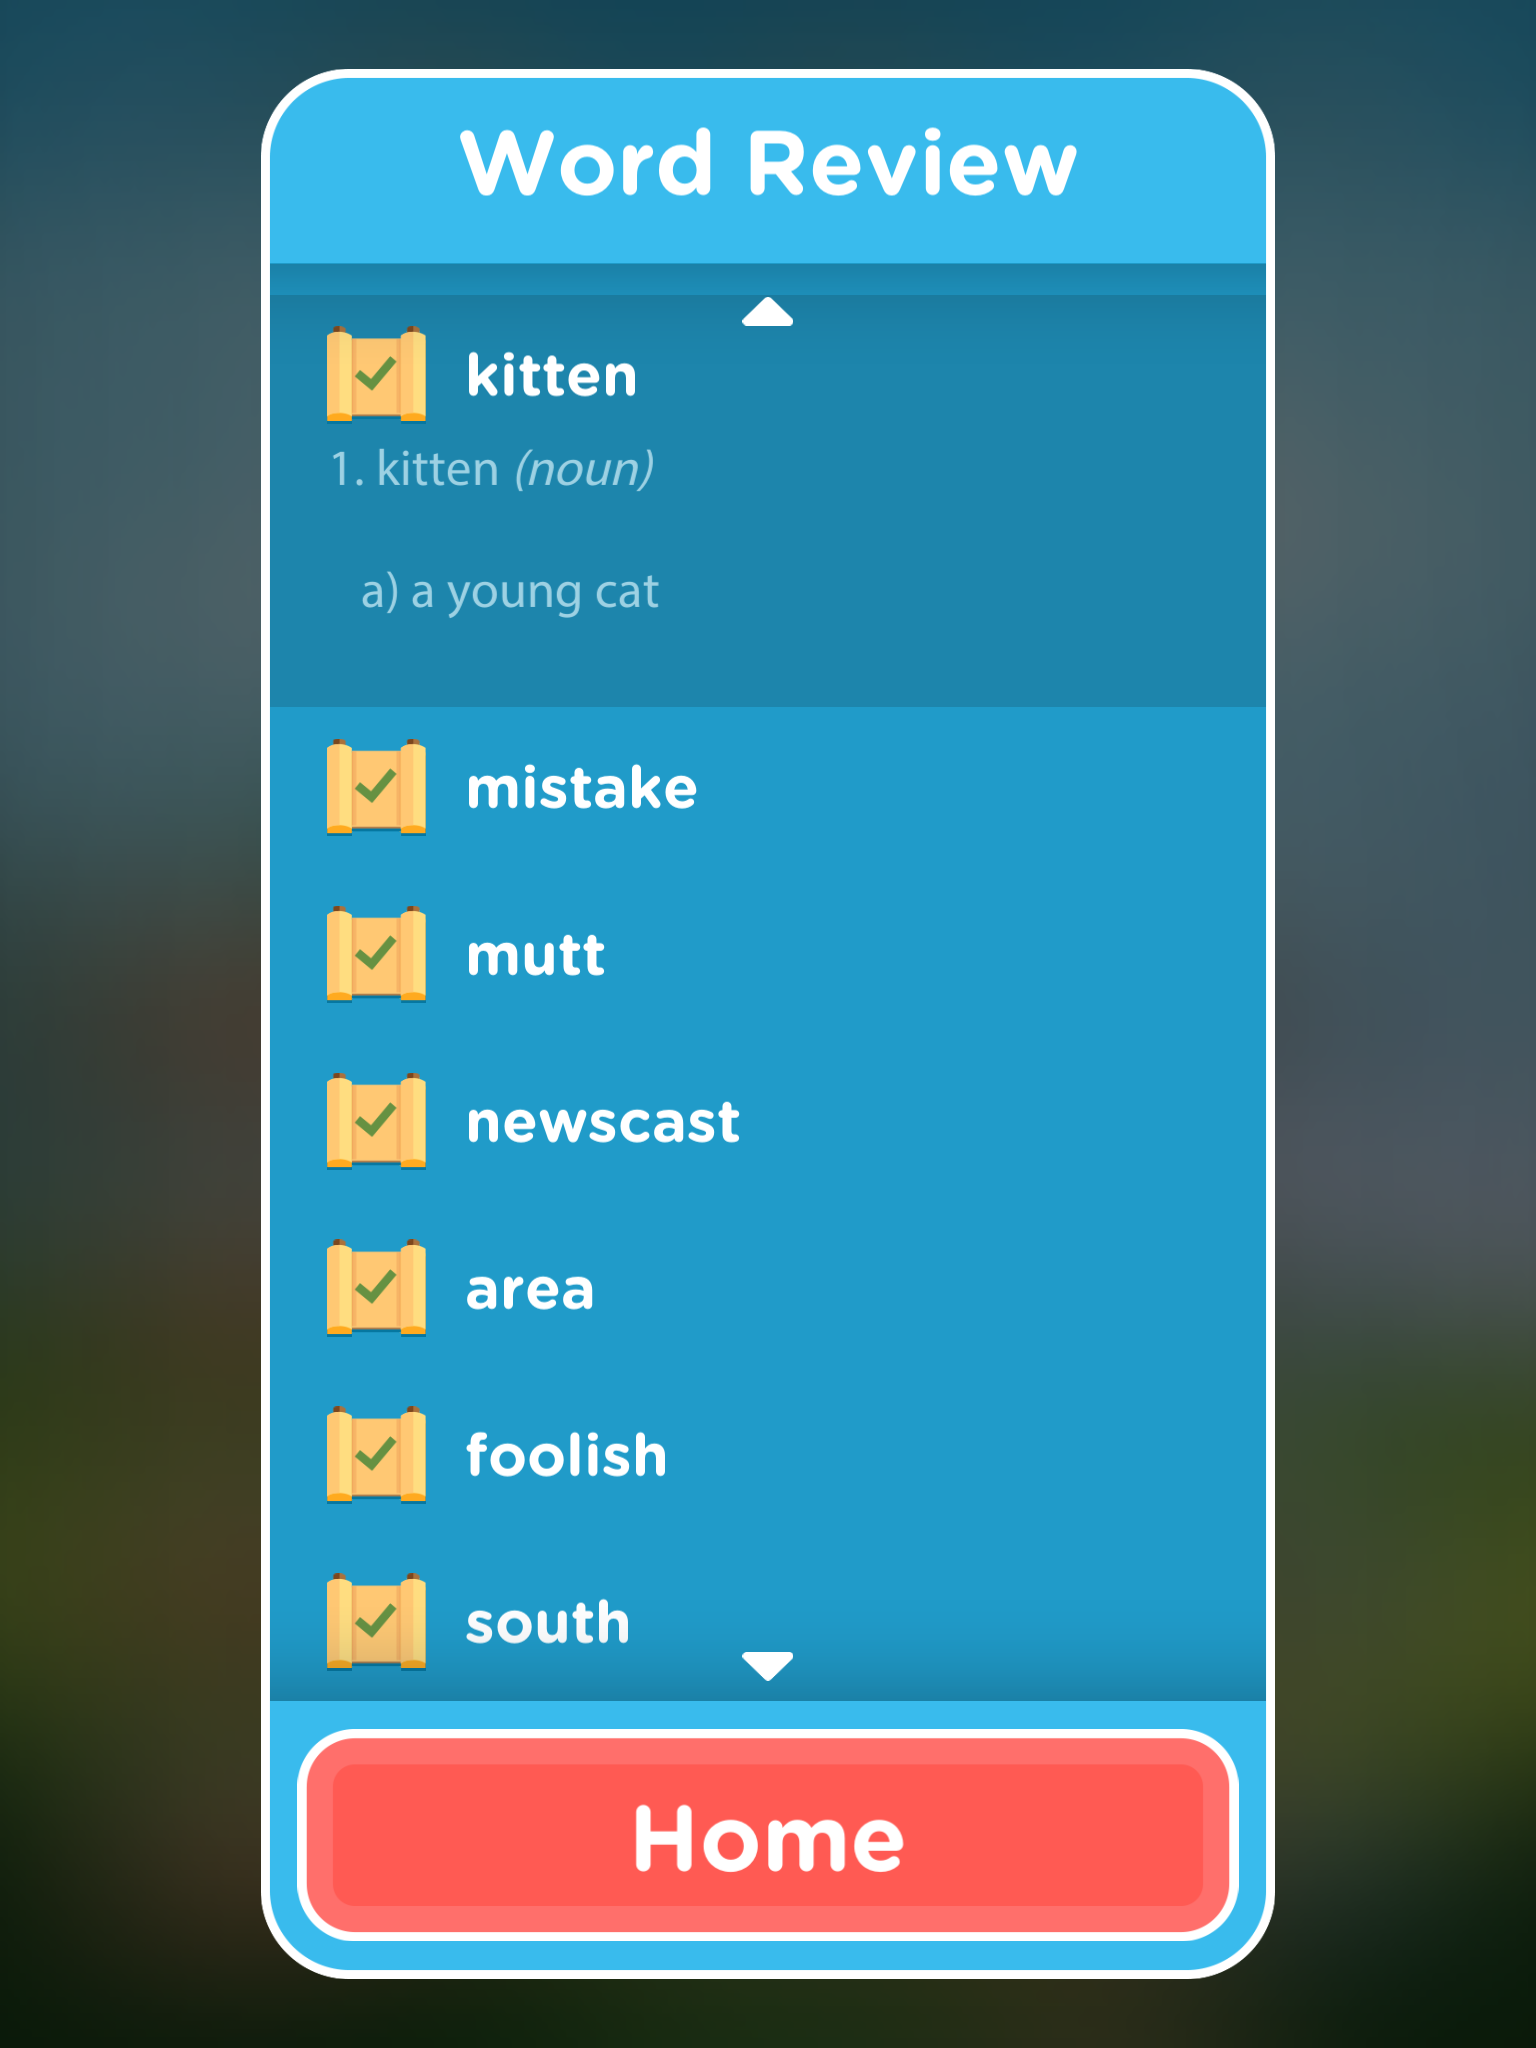
Another great new feature is that Quillionz will also produce summary notes of the text featuring the main points. Again you can edit this for accuracy before saving the notes.
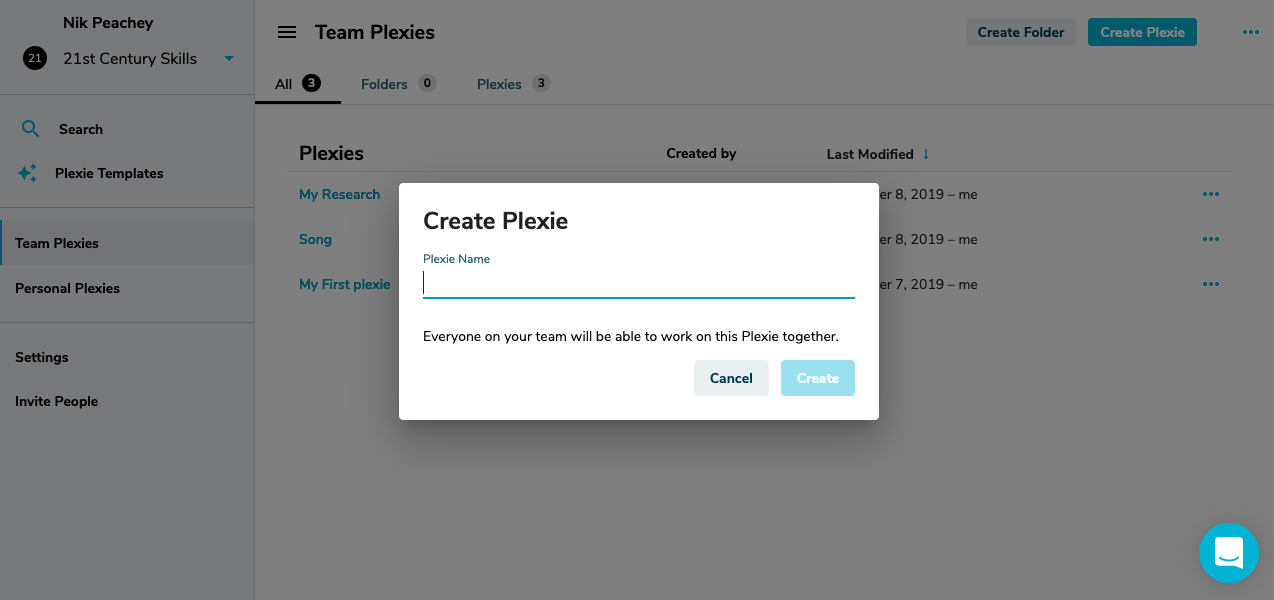
All of the texts you use and the questions you create can be saved in the dashboard so it’s easy to retrieve texts and re-edit them for revision or for a different group of students.

One of the things that I really like about Quillionz is that you can quite quickly and easily teach students to use it and then they can create their own revision quizzes and create quizzes for each other. The summary notes will also be really useful for students. 

You can click here to check the price of a premium subscription and compare packages.

I hope you enjoy using this tool and that it saves you some time when creating comprehension activities. 
 
More Teacher Resources
You can find links to many more resources like this and activities for the digital classroom in my ebooks at: https://payhip.com/peacheypublications
To sign up for my free newsletter and get a free copy of Digital Tools for Teachers go to: http://eepurl.com/dtgL79
 
Check Out My Books:
Best
Nik Peachey 

Friday 2 October 2020

Create blended and flipped learning materials on the fly with TeacherToolsDigital

With the rapid and sudden increase in remote teaching and learning many schools and teachers are finding it hard to manage the smaller class sizes that remote learning supports and still give students the hours of study and practice they need to move their learning forward.

Many schools have turned to blended learning to fill the gap, but soon discovered that creating high quality blended learning courses takes time, money and a specific set of skills which many of their teachers don’t completely cover.

Luckily there is a solution to this problem that will enable teachers to create pedagogically sound online tasks and activities that can be adapted to students’ needs with minimal time and effort. The solution is TeacherTools.Digital.

TeacherTools.Digital has a great collection of skills based language practice activities that can be quickly adapted and deployed to get students producing language outside of class time whether it’s in a flipped, blended, hybrid, or fully online learning approach.

The site has eight basic activity types and these range from the usual gap filling types exercises to ones that students can submit using voice, text or even their video webcam.


The easiest way to get started with TeacherTools.Digital is to try some of the ready made and then just adapt them and add your own content and ideas.

If you click on browse underneath each activity type you can scroll through a range of activities. When you select one you’ll see how it is structured and then you can easily change the various elements of the activity to suit your needs.

One of my favourite activity types is the one that enables students to submit a video response using their webcam. I think this is a great tool to help students work on their visual communications skills and with the move towards more remote working, this is becoming a vital work/life skill for many of our students.


The Read Aloud activity type is also really useful as it enables you to set speaking activities for students that they can do at home and they get instant feedback on their performance as they read each line. This can increase their speaking practice time and reduce your homework marking time.

When you have created an activity you get a link that you can share with students and all of their results are tracked into the TeacherTools.Digital LMS, so you know how your students are progressing and which ones are completing their homework assignments.

As I said, I think this is a great solution to increase the amount of meaningful practice students have with language and to reduce some of the workload being placed on teachers.

You can try TeacherTools.Digital for free for 30 days, after that you’ll need to pay $9.99 a month (See pricing). This can be really worth the amount of time it can save you. At present there is no price on the  schools account, but it may be worth trying to get your school to enquire as substantial discounts are available when signing up multiple teachers from the same institution at the same time.

TeacherTools.Digital is also integrates with a wide range of LMS, so if your school already has a platform for building blended learning then it's quite easy to use TeacherTools.Digital to extend the range of activity types that you can offer.

As a special offer for readers of Nik's Quickshout. The good folks at TeacherTools.Digital are offering an additional 10% discount on top of the already discounted yearly rate of $99, bringing it down to only $89. What's more, your subscription will continue to renew at this price in subsequent years! 

This offer is only available to the first 25 users to redeem the following coupon code: PEACHEY-YEARLY-2020.

I hope you enjoy using this great tool and that it helps to reduce your workload and increase your students’ learning.

More Teacher Resources
You can find links to many more resources like this and activities for the digital classroom in my ebooks at: https://payhip.com/peacheypublications
To sign up for my free newsletter and get a free copy of Digital Tools for Teachers go to: http://eepurl.com/dtgL79
 
Check Out My Books:
Best
Nik Peachey


Tuesday 28 April 2020

Ready to Run with authentic video lessons that are classroom-ready for levels A1 - B2

Over the last decade, video has become one of the key drivers of online learning and nowhere more so than in language learning. It has the power to reach beyond words and sounds and show students a range of non-verbal communication features as well as taking them to places and peoples around the world that they may never be able to access physically.
Despite the power of video, one of the greatest difficulties of using authentic video with language students has always been level. Authentic video has often been seen as too challenging for lower-level students, and much of the graded, made for language teaching material is so cringingly inauthentic that it is almost too embarrassing to use, especially for teenagers and young adults.

Finally, though it looks like Digital Learning Associates (DLA) have solved the problem with their award-winning Ready to Run series of videos and learning materials.

The Ready to Run Videos
If you check out the Ready to Run catalogue you’ll see that they have a great range of really diverse, inclusive and most importantly interesting videos that cover a really broad range of geographies, topics, cultures and lifestyles.
The videos have been categorised using the CEFR so it’s really easy to find the ones that are appropriate for the level of your students and there is a range of video at each level from A1 up to B2.

The videos are professionally produced with really high-quality camera work and audio and as I mentioned earlier they are engaging enough to hold the attention of a native speaker solely on the interest level of the content.

The Teaching and Learning Materials
The series is entitled Ready to Run and it is exactly that. Most of the videos have PDF materials that you can download and use immediately with your students as well as a teachers guide and copies of transcripts.

Another of the great things about the videos is that it’s also possible to open the captions so that students can read the transcript as the watch and for students who are really struggling the settings allow you to slow the video down.
Here’s an example video from a South African Vlogger. The video is about what she’s doing to pass the time during the lockdown.
https://readytorun.digitallearningassociates.com/programs/bokangs-vlog-in-quarantine-keeping-busy-at-home

Subscriptions
Ready to Run is a subscription service with a range of subscription packages.
  • Video Star - Which is free and gives you access to 10 videos with lesson materials from a range of levels. These are updated with new content every month.
  • Video Pro - Which gives you access to 35 units of material ranging A1 to B2. At present, you can also get the Video Pro package for free for the duration of the COVID-19 pandemic.
  • Video School - This gives you and the teachers at your school unlimited access to the complete catalogue for £79 a month.

Finally, if you check out the Ready to Run blog you’ll also see some interesting postings about how to use the materials online for virtual teaching as well as some posts about new and upcoming content.

So whether you are teaching online or looking forward to getting back into the classroom now is a great time to sign up and get some really interesting and engaging materials that can save you hours of preparation.

More Teache Resources
You can find links to many more resources like this and activities for the digital classroom in my ebooks at: https://payhip.com/peacheypublications
To sign up for my free newsletter and get a free copy of Digital Tools for Teachers go to: http://eepurl.com/dtgL79
Check Out My Books:
Best
Nik Peachey

Friday 24 April 2020

Using the bulb digital portfolio to keep up with qualitative assessment of student work online

In the rapid shift to online learning that’s taking place at present, there’s one thing that can easily get overlooked - the value of qualitative evaluation. What better tool to do that with than a digital portfolio tool like bulb?

bulb is simple to use, works on mobile as well as in the browser and it gives your students the opportunity to collect and showcase their work using a modern and stylish design.

Creating a profile

To get started, all you need to do is create a free profile. All you need is an image and a short description of who you are.

Once you have your profile created you can start collecting together any digital assets you would like to include in your portfolio.

Collecting your work You can access your asset library by clicking on the icon in the top right of the screen. You or your students can add a wide variety of digital assets to your library. These could be an audio recording, documents, images, videos, or work they have stored on Google Drive or OneDrive. Interestingly, students can also record audio directly into the asset library, which may well be useful for collecting examples of student’s spoken work.

The asset library is a great place for students to collect their work as it’s totally private so they can wait until they are ready to publish something before they add it to a page.


Once students have their work in the asset library they can create Pages or Collections. A Collection is a number of Pages collected together, much like a folder. This makes it easier for students to collect and categorize their pages into different topics or subjects.

Creating pages Creating pages is very easy. Click to create a page, give the page a title and add a cover image. Then start typing in content. Click on ‘Enter’ to start a new line and you will get the option for adding assets from your library or uploading new media assets such as images, video, audio and more.

Apart from its simplicity, one really nice feature of the editor is the ability to create image carousels. Once you have added one image you can simply click on the image icon to add additional images. This makes the collections of images look more professional and users don’t need to scroll down a long page.

Once students have completed their page they can publish it. They can either make the page public, create a private link, or share it with specific users or groups. This makes it much easier for students to share work with peers to get feedback and comments or just their teacher or parents.
Another nice feature of the site is that you can create pages and share them as templates. This enables other users to make copies of the page and use them to add their own content. This is a great feature to enable you to create worksheets for students that they can complete or to provide a format and structure for the work that they do.

Creating groups If you are using bulb with students and particularly if you are using it with multiple classes, then the Groups feature is going to be really useful.

To create a group you go back to the menu and select groups and then ‘Create Group’. Give your group a name and description, then create a unique URL.
Once you have created a group you can add members by either entering their email or username or you can give students a code to add themselves as members of the group.

Now that students are in a group they can easily share and comment on each other's work and you can share work and templates with them as well as assessing and evaluating their work.

Sharing
One last feature that I really like about bulb is once pages are published they can be used in presentation mode. This opens them as fullscreen without all the editing and navigation tools, so that students can present their work in the classroom.

If you are a Google Classroom user you will also be happy to know that bulb works alongside Classroom.

That’s about all there is to it. bulb is a really stylish tool to use with your students, that they or their parents can access in the home that enables peer to peer evaluation as well as tutor evaluation and assessment of work.

I hope you find this a really useful addition to your digital teaching toolset.


More Tools
You can find links to many more resources like this and activities for the digital classroom in my ebooks at: https://payhip.com/peacheypublications
To sign up for my free newsletter and get a free copy of Digital Tools for Teachers go to: http://eepurl.com/dtgL79

Check Out My Books:
Best
Nik Peachey

Tuesday 31 March 2020

Add learning activities and games to your zoom classroom with Raptivity

In these difficult times when schools and universities are rushing to develop credible and engaging online learning, Raptivity 2020 looks like a really useful low-cost tool to enable that process.


Raptivity 2020 is a great content authoring tool and is capable of creating dynamic and media-rich learning that is adaptive across mobile, tablet and desktop screens.
One of the striking things about Raptivity is just how simple it is to create great looking materials. When you log in, there are two parts to the dashboard, one area where your work is stored and the other where you create content.

There are a good range of content types with a good balance between presentation formats and gaming/testing types.
Each content type has an example so you can see how it works and what it looks like to students and then you can just select the ones you want and customise them with your own content.

These are some examples of the presentation types:
  • Layered Display: This content type allows the students to choose from a range of topics within the main theme. Understanding sexual harassment.
  • Panning Slides: This content type is more like a linear presentation with a menu at the side so students can jump around a little. Example: Fruit and Vegetables
  • Horizontal Parallax: This content type is more like a timeline that students can work through. Example: The #MeeToo Timeline 

These are some examples of the game type activities:
  • This one is based around a bowling alley. Students answer question to get the opportunity to bowl and see whether they got the answer correct.  
  • This one is based around a mouse trying to get cheese. Students answer questions correctly and the mouse gets the cheese, but if they make enough mistakes, the cat scares the mouse away. 

All of these content types can easily be customised with your own content. This includes adding audio narration for each slide and embedding your own video from social media.

Once you have added your content to the slides and games you can see what they look like on either tablets or phones in both horizontal and vertical mode.

Once you have saved your finished activities they are stored in the 'MyWork' section and from there you can either publish and share them through social media or email or export them for use in your own learning platform. All of the content produced is SCORM compliant.

You can also run the published content while screen sharing during a live class in Zoom or any other online classroom, or pass links to students through chat so they can do activities in pairs or breakout rooms.

Raptivity has a free 14-day trial which should be more than enough time to learn how to use the tool and produce some engaging content. Signing up for a year is very economical compared to other similar platforms. There doesn't seem to be a monthly plan at present, but at time of writing there is a 25% reduction.
Raptivity is well worth a try if you want to quickly create online learning content that's both engaging, media-rich and which looks fresh and professionally designed.

You can find links to many more resources like this and activities for the digital classroom in my ebooks at: https://payhip.com/peacheypublications
To sign up for my free newsletter and get a free copy of Digital Tools for Teachers go to: http://eepurl.com/dtgL79

Check Out My Books:
Best
Nik Peachey

Wednesday 18 March 2020

Plexie for collaborative online creation


Plexie is a really interesting web-based app and quite a hard one to define. Basically it allows teams to work collaboratively in a web-based document to produce digital content that can either be published and shared publicly or kept private for only limited team members.

When you create your first Plexie, you create an online workspace. This allows you to create a number of digital documents that you can either work on with a team or keep private.

Creating a new document is easy, you just click on ‘Create Plexie’ and give your document a name.

Once you have your document in your workspace you can start adding different ‘Cards’ to it. It’s a good idea to start off with some idea of what you want to create and figure out how you want to layout your workspace. This is particularly true if you want to work with a team.

You could assign different team members different cards to work on or everyone could work together.

Once you have your layout created you can start adding content to each card. You can easily add a wide range of content, from images, video and documents to text and hyperlinks to other content.


At each step of the way, you can just click on ‘View’ to see what your final product will look like.

You can also add additional pages to each Plexie in a similar way that you would if you were designing a website with multiple pages.

Plexie is a simple to use tool, but can also be used to create quite high quality visually pleasing content if you want to work with it and develop your skills a little.

When you have finished you can share your Plexie by clicking on 'Share’ and then turning on link sharing. This will make the Plexie visible to anyone who has the link.


To make this whole process easier, Plexie has just introduced a number of templates that you can choose from that you just need to select and add your own content to. Like this one for collaboratively creating a lesson plan.

Why use Plexie?

  • I think this a great tool for working with younger learners to develop their digital literacy skills. It provides you with a very safe collaborative environment that you can then share with parents once the work is finished.
  • This would be a great tool to enable teachers to develop and share lesson plans within their school or staffroom. They can work on the plans collaboratively or individually and then access each others’ plans and materials online.
  • You could use Plexie to get students doing language analysis of grammar points. Just set up a Plexie for the grammar point you want them to explore. Add cards for each of the aspects of the grammar point you want them to investigate, such as form, meaning, pronunciation, 
  • Students could use Plexie to create the framework and plan for a project as part of a PBL cycle. This would enable them to work on the project output together and then share and make it public when they have finished.
  • Plexie is ideal for creating video-based lessons. You can embed the video into one of the cards and have your instructions on a second card. Answers could be set up on a second page.
  • Similarly, you could add an infographic to a Plexie and get students to fact check the information in it and use a card each to share what they discovered about the topic. This would help them to develop their digital literacies and critical thinking skills.
  • Students could use a Plexie as a ‘vision board’ and collect examples of things that inspire them or that they aspire to do.
  • Students could use Plexie as a digital portfolio and collect and keep examples of their best work there.
There are also some nice examples on the Plexie site that show some of the range of uses for Plexie. I especially liked the idea of having CV/Resume on the site like this one.


As you can see, Plexie is a very flexible and adaptable tool with a wide range of potential uses. The free pricing plan is also very generous and enables teams of up to 100 people to work on one workspace. I guess that should be enough for most classes.
You can find links to many more resources like this and activities for the digital classroom in my ebooks at: https://payhip.com/peacheypublications
To sign up for my free newsletter and get a free copy of Digital Tools for Teachers go to: http://eepurl.com/dtgL79

Check Out My Books:
Best
Nik Peachey

Friday 28 February 2020

Actively Learn - A Huge Resource of Ready-Made Interactive Learning for English Language Learners

Actively Learn isn’t just a great source of learning content for grades 6 through to 12, though if you are teaching adult learners much of the grade 12 content would still be appropriate. It’s also an LMS that enables you to create and track the use of learning materials across your classes, and a teacher development tool that enables you to train teachers in aspects of materials development and instructional design.

Ready-Made Content for ELA

Actively Learn already has a really substantial amount of readymade interactive learning content when you log in. The content is easy to browse or search, initially by subject (ELA, Science or Social Studies) and then by a range of different parameters, from grade to topic to theme or genre.


Once you have found some interesting looking content for your students you can click through to see the activities that have been designed for it and the guidance notes for the teacher. There is also a brief introduction to the text. The questions that you can see as you scroll through the text are interactive and when the text is assigned to the student their responses will be tracked into the reporting part of the site.

If you want to change some of the questions or add cultural notes or word definitions through the text you can also do this, just click on the ‘Customize’ button at the top of the screen.

To add notes, questions or definitions to words, just highlight them and you will see a menu appear.


Once you have your text and all of the tasks ready, just click on ‘Assign’ and the text will be sent to the class that you choose.

Creating Classes and Measuring Learning

Setting up classes is simple. Just click on ‘Add new class’ on the main menu and you’ll be able to give the class a name and select the grade of the students. You get a simple code to give to students that enables them to enroll in your class. Once the students start to interact with the content you’ll be able to track their work through the Gradebook and Student data. You can also get an overall view of the class data.


Creating and Customizing Content

Actively Learn isn’t just for the development of reading skills though, you can also access or create your own content based around online video. Just select ‘Video’ on the ‘Genre’ tab and you’ll see the selection of ready-made video content. When you select a video you’ll see that it has question marks beneath the video play bar. When the students get to this point in the video it will pause and show them a question. By clicking on ‘Customize’ and then clicking on the play bar you can either edit or add new questions to the video.

If you decide you want to add your own content, then click on ‘Import’ and select the type of content you want to add. You can then start to add interactions and questions to it before assigning it to a class.


Actively Learn for Teacher Development

As I said at the beginning of this article, Actively Learn is also a tool for teacher development and has some really well-structured learning activities for teachers that will help them use the platform more successfully. To find these materials click on ‘Professional Learning’ in the menu.

The Professional Learning section starts with a research paper that teachers can read and comment on. The interactions around this paper will be shared with other teachers who are registered at the same school. The platform then has a collection of sequenced activities that teachers can work through to develop different aspects of their professional knowledge whilst helping them to use the platform more effectively with some ‘hands-on tasks’.


Actively Learn Plans

Actively Learn is a pretty impressive platform with a great and constantly growing bank of materials. As a teacher you can sign up for an individual account and use Actively Learn for free, but for the real power of the platform, along with API integrations into Google Classrooms, SIS or another LMS, you’ll need a premium plan. These plans are negotiated with schools according to what elements of the platform and integration they need and the number of students involved. At the school level, it’s clear to see how Actively Learn could have really clear and measurable benefits that could have genuine impact on students’ learning.

You can find links to many more resources like this and activities for the digital classroom in my ebooks at: https://payhip.com/peacheypublications
To sign up for my free newsletter and get a free copy of Digital Tools for Teachers go to: http://eepurl.com/dtgL79

Check Out My Books:

Wednesday 15 January 2020

Vocab Victor for developing vocabulary knowledge

Vocab Victor is a great app and resource for developing vocabulary. I say app and resource because as well as the free app you can download from the site, there are also some great resources on the website.

Let's start with the app though. The Vocab Victor app is a really useful example of gamified vocabulary development. The app has 14 levels and the user has to work through the levels playing different kinds of games to learn different types of word knowledge for hundreds of words.

There are 5 different types of game for developing vocabulary.

Word strike which is like a word association multiple choice game.
Word find which is like the classic word search activity.
Word drop which requires students to choose which of two words has the strongest association to the keyword.
Word lock which requires students to match words to definitions.
And a daily challenge game which focuses on collocations and word grammar.
The games are attractive and very intuitive. Students can also review the words they have studied and as they work through the games they earn charms. They can use these charms to get help or to move on when they get stuck with a word.
There's also a leader board that they can use to see how they are doing in comparison to others playing the game.
The web site includes a word study resource, which lets students find more information for selected words, and even a video which gives an example of the pronunciation in use in a YouTube video.

There is also a vocabulary challenge course that has videos and information to help students learn 20 new words a week over 25 weeks.

Vocab Victor is a great free resource for students. It's probably best suited to students who are around an intermediate (B1 +) level as some of the words are quite difficult, but it can adapt to the students level, so if students are getting a lot of words wrong then it will find lower-level words.

Vocab Victor is a  great tool to use in class as a filler activity or better still get your students to download the app and practise in their free time. The app works on both iOS and Android.

Check Out My Books:


Best
Nik Peachey