Tuesday 31 March 2020

Add learning activities and games to your zoom classroom with Raptivity

In these difficult times when schools and universities are rushing to develop credible and engaging online learning, Raptivity 2020 looks like a really useful low-cost tool to enable that process.


Raptivity 2020 is a great content authoring tool and is capable of creating dynamic and media-rich learning that is adaptive across mobile, tablet and desktop screens.
One of the striking things about Raptivity is just how simple it is to create great looking materials. When you log in, there are two parts to the dashboard, one area where your work is stored and the other where you create content.

There are a good range of content types with a good balance between presentation formats and gaming/testing types.
Each content type has an example so you can see how it works and what it looks like to students and then you can just select the ones you want and customise them with your own content.

These are some examples of the presentation types:
  • Layered Display: This content type allows the students to choose from a range of topics within the main theme. Understanding sexual harassment.
  • Panning Slides: This content type is more like a linear presentation with a menu at the side so students can jump around a little. Example: Fruit and Vegetables
  • Horizontal Parallax: This content type is more like a timeline that students can work through. Example: The #MeeToo Timeline 

These are some examples of the game type activities:
  • This one is based around a bowling alley. Students answer question to get the opportunity to bowl and see whether they got the answer correct.  
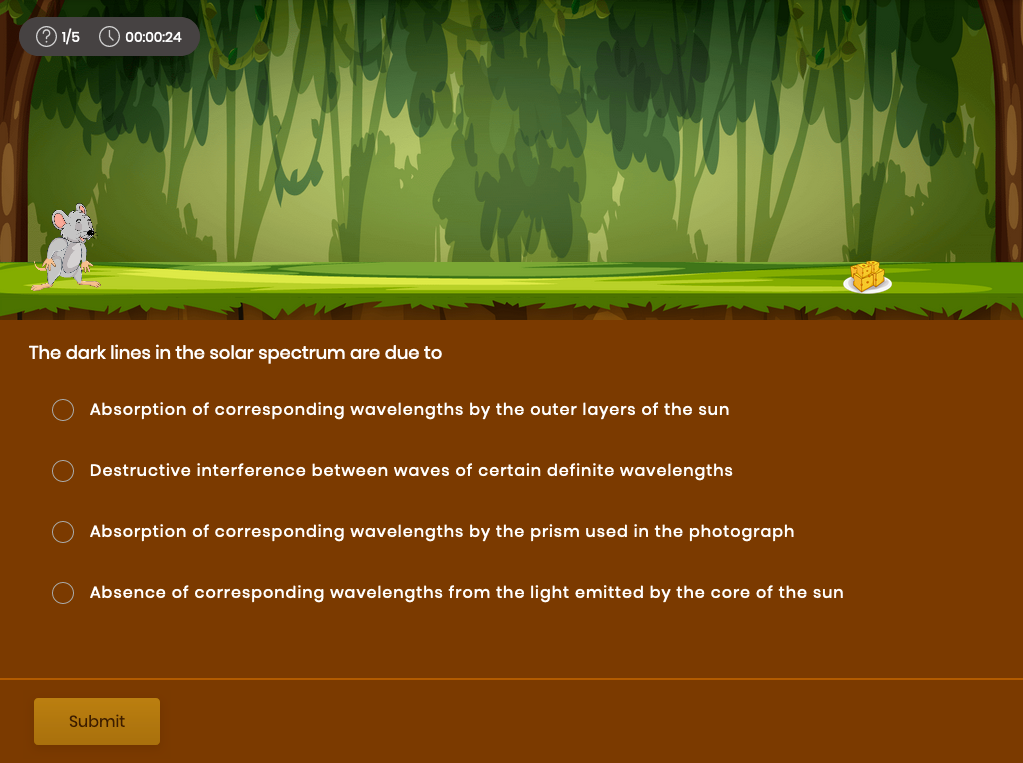
  • This one is based around a mouse trying to get cheese. Students answer questions correctly and the mouse gets the cheese, but if they make enough mistakes, the cat scares the mouse away. 

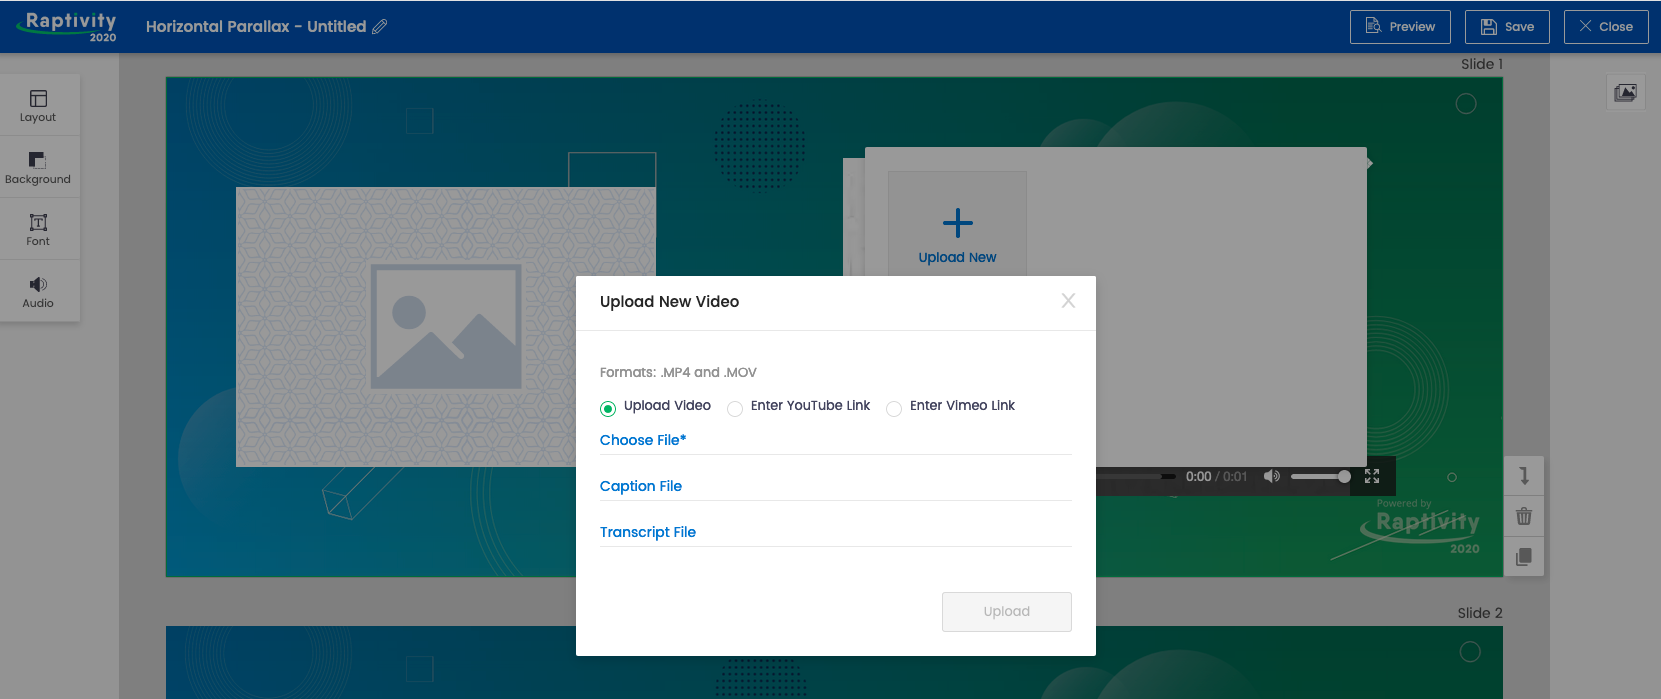
All of these content types can easily be customised with your own content. This includes adding audio narration for each slide and embedding your own video from social media.

Once you have added your content to the slides and games you can see what they look like on either tablets or phones in both horizontal and vertical mode.

Once you have saved your finished activities they are stored in the 'MyWork' section and from there you can either publish and share them through social media or email or export them for use in your own learning platform. All of the content produced is SCORM compliant.

You can also run the published content while screen sharing during a live class in Zoom or any other online classroom, or pass links to students through chat so they can do activities in pairs or breakout rooms.

Raptivity has a free 14-day trial which should be more than enough time to learn how to use the tool and produce some engaging content. Signing up for a year is very economical compared to other similar platforms. There doesn't seem to be a monthly plan at present, but at time of writing there is a 25% reduction.
Raptivity is well worth a try if you want to quickly create online learning content that's both engaging, media-rich and which looks fresh and professionally designed.

You can find links to many more resources like this and activities for the digital classroom in my ebooks at: https://payhip.com/peacheypublications
To sign up for my free newsletter and get a free copy of Digital Tools for Teachers go to: http://eepurl.com/dtgL79

Check Out My Books:
Best
Nik Peachey

Wednesday 18 March 2020

Plexie for collaborative online creation


Plexie is a really interesting web-based app and quite a hard one to define. Basically it allows teams to work collaboratively in a web-based document to produce digital content that can either be published and shared publicly or kept private for only limited team members.

When you create your first Plexie, you create an online workspace. This allows you to create a number of digital documents that you can either work on with a team or keep private.

Creating a new document is easy, you just click on ‘Create Plexie’ and give your document a name.

Once you have your document in your workspace you can start adding different ‘Cards’ to it. It’s a good idea to start off with some idea of what you want to create and figure out how you want to layout your workspace. This is particularly true if you want to work with a team.

You could assign different team members different cards to work on or everyone could work together.

Once you have your layout created you can start adding content to each card. You can easily add a wide range of content, from images, video and documents to text and hyperlinks to other content.


At each step of the way, you can just click on ‘View’ to see what your final product will look like.

You can also add additional pages to each Plexie in a similar way that you would if you were designing a website with multiple pages.

Plexie is a simple to use tool, but can also be used to create quite high quality visually pleasing content if you want to work with it and develop your skills a little.

When you have finished you can share your Plexie by clicking on 'Share’ and then turning on link sharing. This will make the Plexie visible to anyone who has the link.


To make this whole process easier, Plexie has just introduced a number of templates that you can choose from that you just need to select and add your own content to. Like this one for collaboratively creating a lesson plan.

Why use Plexie?

  • I think this a great tool for working with younger learners to develop their digital literacy skills. It provides you with a very safe collaborative environment that you can then share with parents once the work is finished.
  • This would be a great tool to enable teachers to develop and share lesson plans within their school or staffroom. They can work on the plans collaboratively or individually and then access each others’ plans and materials online.
  • You could use Plexie to get students doing language analysis of grammar points. Just set up a Plexie for the grammar point you want them to explore. Add cards for each of the aspects of the grammar point you want them to investigate, such as form, meaning, pronunciation, 
  • Students could use Plexie to create the framework and plan for a project as part of a PBL cycle. This would enable them to work on the project output together and then share and make it public when they have finished.
  • Plexie is ideal for creating video-based lessons. You can embed the video into one of the cards and have your instructions on a second card. Answers could be set up on a second page.
  • Similarly, you could add an infographic to a Plexie and get students to fact check the information in it and use a card each to share what they discovered about the topic. This would help them to develop their digital literacies and critical thinking skills.
  • Students could use a Plexie as a ‘vision board’ and collect examples of things that inspire them or that they aspire to do.
  • Students could use Plexie as a digital portfolio and collect and keep examples of their best work there.
There are also some nice examples on the Plexie site that show some of the range of uses for Plexie. I especially liked the idea of having CV/Resume on the site like this one.


As you can see, Plexie is a very flexible and adaptable tool with a wide range of potential uses. The free pricing plan is also very generous and enables teams of up to 100 people to work on one workspace. I guess that should be enough for most classes.
You can find links to many more resources like this and activities for the digital classroom in my ebooks at: https://payhip.com/peacheypublications
To sign up for my free newsletter and get a free copy of Digital Tools for Teachers go to: http://eepurl.com/dtgL79

Check Out My Books:
Best
Nik Peachey