Showing posts with label edtech. Show all posts

Monday, 12 February 2018

Create Engaging Video Tasks with Kapwing

Kapwing is a great free online video editor that makes a number of video editing activities simple.

Using the tool you can:
  • Add subtitles to videos
  • Trim the length to focus on specific sections.
  • Resize and loop
  • Add meme text to video
  • Add sound effects
  • Create stop motion video

All you need is either your own video file or the link to a clip online.
  • Go to the site, choose what you want to do and then use Kapwing’s easy interface to carry out your edit.
  • Once you have finished just click on create. 

The tool is free to use and just adds a small logo. If you want to get rid of the logo, then you can pay a minimal amount to download a version with your own brand or logo on. There are no subscriptions necessary so you just pay for the videos that you want when you want them.

Here are some great activities you can do with these tools.

Adding subtitles
  • You can students use the tool to transcribe or translate a video.
  • You can get them to add narrative to a silent video or cartoon.
  • You can ask them to add what the people are thinking or feeling instead of the script.

Trimming video
  • You can focus students on just a short part of a clip.
  • You can edit one clip into 3 - 4 sections and then get students to watch and put the sections in the correct chronological order.
  • You can create a video gap-fil and take a section out of a video clip and see if students can guess what happened in the missing part.

Add meme text
  • You can use short action clips and get students to think of memes to go on them. These could be quotes, advice, idioms or just something funny.

Having a free browser based tool Kapwing can help you to create interesting and engaging materials for students, but it can also allow students to get some hands on experience of editing video and so help to build their digital literacies.

I hope you and your students enjoy using Kapwing. You can find lots more ideas, lesson plans tools, video tutorials and teaching suggestions in my award winning ebook - Digital Video - A Manual For Language Teachers.

http://peacheypublications.com/books/digital-video-a-manual-for-language-teachers


My Books:


 Best

Nik Peachey

Thursday, 7 December 2017

Getting into Virtual Reality Part 1: Creating Virtual Reality Worlds

Strangely enough I had my first experience of Virtual Reality in a bar in Barcelona about twenty years ago. As I remember I put on a headset and then had to jump from one rock to another as I navigated my way through what looked like some kind of virtual meteor shower.

About ten years later I had an office in the 3D Second Life virtual world and was designing business English classes and running an ELT chat show. Now another ten years on VR seems to be making another surge into the mainstream consumer market and the field of education. Whether it’s here to stay or not largely depends on how accessible edtech companies can make this to mainstream teachers and classrooms around the world and the ability of edtech companies to provide experiences that have genuine educational outcomes that match the kind of investment that will be necessary to enable students to access those experiences.

Google have made a great start with Cardboard (a cheap and easy to assemble VR headset that can be used with a mobile phone) but Cardboard is still a long way from being able to provide the kinds of immersive and interactive experiences that come with the much more expensive Vive and Oculus type devices.

Anyway, in an effort to help you navigate and get involved with this new wave of virtual reality I’ll be writing a short series on what’s out there and available for teachers and educationalists to get started with, so here are the first six tools for creating VR experiences.

Edorble

Edorble is a great tool for setting up your own 3D virtual classroom. You and your students have to download the software and then you get a code to enter your own virtual world. Give the code to your students and they can enter your virtual world too. This gives you and island auditorium where you can show videos, collaboratively share and view links to websites and chat using proximity sensitive voice  chat.

You and your students can also roam around and explore the rest of the environment. There is also a version for VR headsets.

Rumii

Rummi is a 3D virtual meeting space for meetings of various sizes. You need to create an account and download the free software. You can then create your avatar and create various size rooms depending on how big your meeting is.

These rooms vary from small meeting rooms to larger auditoriums that can host panel type debates with a group of speakers and a larger audience watching. You can use this with an ordinary laptop or desktop screen or with a VR headset and controller.

Mirra

This is a wonderful tool for constructing interactive 3D virtual reality spaces. You can register and then either customise a pre-constructed template environment or create your own from scratch. You can add a range of interactive features to the environments such as hot spots that link to other materials or content, video screens, interactive 3D models, 2D texts.

Once you have finished building you can publish your environment and allow people to visit and interact with it. This is a great way to build VR experiences that can be viewed in the web browser either with a standard screen or VR headset.

Co Spaces

This is a great resources for getting kids to create their own interactive 3D  spaces and creations. If you register as a teacher you can create classes and assignments then add your students to the class and set them the assignments. Students get a code to enter your class and can then create virtual spaces. Check out some of the examples to get some idea of what is possible.

Pirate ship: https://maker.cospaces.io/Universe/Space/GMbbXZ0LZ33Ca7aw9p3VjW
Students can browse or create these using a standard screen or VR headset.

Sansar

Sansar is only recommended for those who want to dedicate really serious time into developing the VR building skills. It was created by the Second Life company, Linden Lab, and is still in beta. It enables you to build a complete 3D virtual world that multiple users can join using either VR headsets or computer screen. You’ll need a PC to download the software to do this, but it is free. They have also provided a large amount of training material and resources for anyone who wants to skill up at creating virtual reality worlds in Sansar: https://atlas.sansar.com/ 

You can also see some great examples of the worlds people are creating (To visit them you’ll also need to download the software though). Here are a few:
Floating Temple: https://atlas.sansar.com/experiences/c3rb3rus/floating-temple-wip
Ink: https://atlas.sansar.com/experiences/johnbaic/ink
An Evening at the Ballet: https://atlas.sansar.com/experiences/brynoh/an-evening-at-the-ballet

Engage Immersive Education

Engage is also for those who want to take their VR pretty seriously and create virtual reality educational experiences. The Engage platform is a free to use social education and presentation platform. Engage allows you to hold meetings, classes, private lessons and presentations with people from all around the world in a safe virtual multi user environment. Like Sansar the software is free to download (You’ll need a high spec PC though) and with it you get all the tools you need to build virtual world experiences. Engage was really designed for the virtual delivery of live and recorded presentations and experiential distance learning for up to 30 students in a class.

To find out how it’s being used by Oxford University check out: http://immersivevreducation.com/educators-at-oxford-university-using-engage-platform/
To see the Titanic VR experience check out: http://immersivevreducation.com/titanic-vr-early-look-game-images/

I hope you enjoy getting started with VR and look out for part 2 soon.

You can find 100 + more tools and resources like these in my ebook Digital Tools for Teachers - Second Edition or if you want to train other teachers to use these kinds of tools check out the Teacher Trainers’ Edition.


My Books:
 Best

Nik Peachey

Monday, 13 November 2017

Develop Critical Thinking Skills with Kialo

Kialo is a wonderful tool for developing critical thinking skills and to develop students’ abilities to look at and explore multiple perspectives of complex issues in a clear and logical way.
The site enables teachers to set up complex topics and structure ‘pros and cons’ type debates around them.

This is simple to do. Just set up your topic, add an image and some explainer text that you want students to read first and then invite students to add either pros or cons.
You can keep your debate topics private and only allow your own students to add to them by creating teams and then sharing different discussions with the team, or once you have 15 comments you can then publish them and open them up to the public. This process of collecting a reasonable number of comments before going public helps to ensure the quality and integrity of the discussion content already on the site.
Once you have created a team you can also share any of the existing debates with your students too.

This is a great place to get your students thinking in a structured and logical way about complex topics and is a great way to prepare them for a classroom debate or discussion.
The discussions have been categorised into topics to make them easier to browse. A lot of the existing content has a very strong US bias, but there are still quite a few internationally relevant topics if you don’t want to create your own.

I hope you enjoy using Kialo and your students find it rewarding. 
 
You can find over 100 digital lesson plans, videos and teacher resources in my Teachers' Classroom App
 
Teachers' Classroom App


 Best

Nik Peachey

Monday, 23 October 2017

Digital Skills for Teachers - World of Better Learning

I’d like to share a short series of articles I have produced for the Cambridge University Press blog - World of Better Learning.

The series looks at the impact of digital technologies on classroom practice and the kinds of skills teachers need to ensure that they help their students to take advantage of the opportunities that increasing classroom access to the Internet can offer.

You can find more tools and activities like these in my ebook 20 Tech Enhanced Activities for the Language Classroom.
The book is available on iOS or as PDF for other devices.

Sign up for my twice monthly free newsletter and get a free copy of Digital Tools for Teachers at: https://tinyletter.com/technogogy/ 

My Books:
 Best

Nik Peachey

Wednesday, 19 April 2017

20 Tech Enhanced Activities for the Language Classroom

I'm proud to say that I've just published another ebook through PeacheyPublications.com

20 Tech Enhanced Activities for the Language Classroom was designed to be the first in a series of collections of the simple activities and ideas I have used over many years when delivering teaching and teacher training sessions that incorporate the use of digital technologies.

The ideas use simple free tools that have stood the test of time and remained consistently reliable. The teaching ideas and activities themselves are ones that I have adapted from my pre-technology teaching days, so they are all built on sound classroom teaching practice.


The activities are ideal for the modern connected classroom in which students come to class with a variety of devices, but they can also be used in a blended context and students can be assigned some parts of the tasks to do outside of the classroom.

I have also included a collection of 8 video tutorials to help less tech confident teachers deal with the technology side of using the materials.


I hope 20 Tech Enhanced Activities for the Language Classroom will act as a bridge for teachers who are newer or less confident at using digital tools and materials and help them provide engaging and motivating language learning experiences for their students.

I hope you find this ebook useful.

Related links

Best
Nik Peachey

Monday, 10 October 2016

Tools and alternatives for creating presentations

Most computers come with some form of preloaded software that includes a package for creating presentations. There are however a range of alternatives and online apps available that have made an attempt to change, update or enhance the presentation format. As well as the standard tools I’ve included a range of alternatives here for you to explore.

Microsoft PowerPoint - https://www.microsoftstore.com/ 

PowerPoint has become a standard tool for creating presentations both in the educational and workplace environments. There are many reasons for sticking with PowerPoint; It’s a very powerful tool, Most students who use Windows PCs will probably already have it installed on their computers; Many web-based platforms work well with it. Despite this, it is worth looking around at other tools, especially if you want to get your presentations online as PPTs are generally big files that don’t export well for online delivery. There are also a lot of free alternative to PowerPoint, many of which give a more flexible approach to creating presentations and are much simpler to learn.

Apple KeyNote - http://www.apple.com/uk/mac/keynote/ 

 KeyNote is Apple’s alternative to PowerPoint and for me it’s a much lighter and more user friendly tool. It has a great range of easy to adapt stylish templates. It makes designing the look and feel of the presentation much easier. You can export the presentations to a good range of file types including Microsoft’s PPT format if you need to. I also find that KeyNote deals much more easily with importing image and video media.


SlideShare - http://www.slideshare.net/ 


SlideShare is a free online platform for sharing your presentation slides. This can make your slides much more accessible to others after the presentation. The best way to add your slides to SlideShare is to save them to PDF first and then just upload them. The site makes it very easy to share your presentation through a range of social media and you can also easily add them to your LinkedIn profile.


Simpleshow - https://www.mysimpleshow.com

 Simpleshow is a great alternative to getting students to stand up and do a presentation. Instead it allows students to create a narrated video presentation. This could be used as a great first step towards delivering their own physical presentation. It also offers the students the choice between recording their own narration or using a text to speak generated narration.

The site is free and simple to use. Once students register they just need to type their script for each slide and stage in the presentation and then the site will automatically generate images to go with the script. Students can then go through and edit each slide, change the images or add their own narration.

At each step their are video guides so there shouldn’t be too many technical challenges. There are also plenty of examples here: https://www.mysimpleshow.com/examples/ so it would be good to choose a couple for students to look at first so they understand what they are going to create.


Prezi - https://prezi.com/ 

Prezi is very popular among the edtech community at present and claims to represent a shift away from the traditional linear form of presentation. It provides a kind canvas on which you can layout a mixture of assets that you wish to present, such as video clips text and images. You then chart a course around the various assets zooming in and out as you talk through them. Prezi is very mobile friendly too and has a dedicated app for iOS.

Movenote - http://movenote.com/ 

 Movenote is another useful alternative for online courses or when you don’t want students to have to deliver physical presentations. It is a free tool that enables students to upload their slide-deck and then add slide by slide talking head narration.

The site is very simple to use. Students just upload a PDF version of the presentation and then use  a webcam and microphone to add their narration. Movenote has Android and iOS apps for students with mobile devices too. When the the presentation is recorded it is stored online and students can share links to their presentations.


AuthorStream - http://www.authorstream.com/

AuthorStream is similar to SlideShare. It’s tool for hosting your presentations online. You can also add audio narration and the site will then convert them to video which you can download, though this is a paid feature so you will have to upgrade from the free version to do that. The site does have a couple of advantages over SlideShare though, especially for KeyNote users. It accepts KeyNote presentations and will retain any animations used in the presentation too. The site does look a bit out of date though and isn’t as well designed as SlideShare.

 QwikSlides - http://www.classtools.net/qwikslides/

 QwikSlides is a very simple browser-based tool for creating online presentations. Basically you can add text, links to online images and videos and customise the look of the presentation a little. It’s not nearly as powerful in terms of design as something like Keynote or PowerPoint, but it does get the job done and the presentation online very quickly and it is free. To get started just click on the edit icon and you can simply type in your text and the links to the media you want to include. Each line in the editor creates a new slide.


Tackk - https://tackk.com

 Tackk is another alternative to doing presentations in the classroom. It allows students to create a single webpage and add different kinds of media and text to the page. The pages are social so other students can either contribute to the page or comment, etc. The pages are also easily shared through social media. The designs look very modern and professional so this is a very motivating way for students to share their work. Students can use the single page to share and display the results of their research and add explainer text.


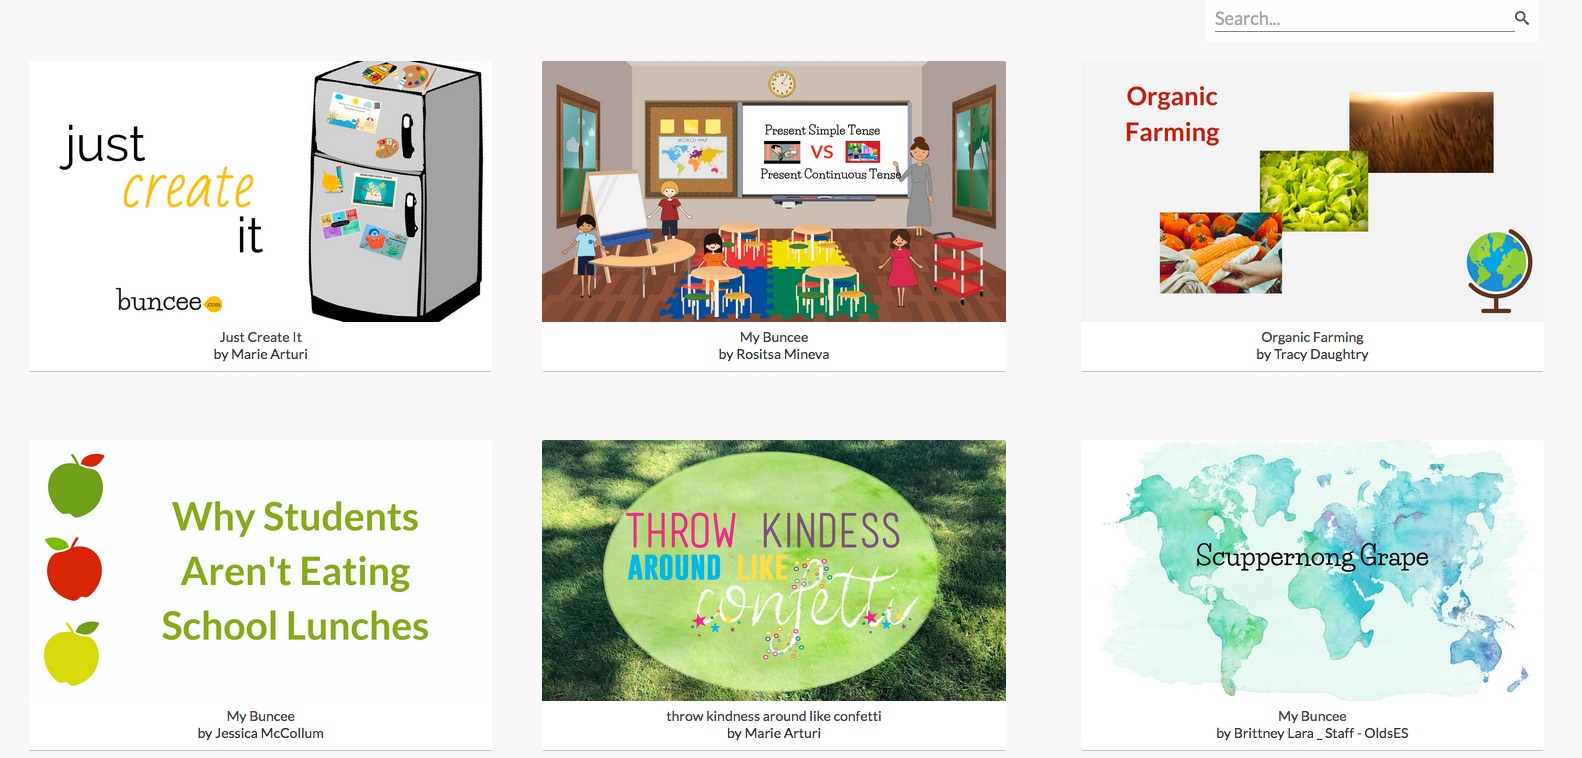
Buncee  - https://www.edu.buncee.com/

Buncee is a cross between presentation tool and digital canvas. You can use it to create either a sequence of slides or just use one slide as a kind of digital poster. There is a really wide range of digital assets that students can search through and use in their pages and this includes images, video 360 images as well as designs, animations shapes and text. Buncee also works a little like a social network so that students can follow each other and like and comment on each other’s work. There is also an educational version of Buncee. Buncee is a freemium product so there are some features which are locked without payment (audio recording being the most useful one) but the tool is still very useful even if you just work with the free features.

You can find more tools like these in Digital Tools for Teachers


I hope you find these useful.

Related links:
 Best

Nik Peachey

Monday, 3 October 2016

Exploiting Infographics for Digital Literacy and Critical Thinking

This is just a short post to anounce the publication of my new ebook 'Exploiting Infographics for Digital Literacy and Critical Thinking'.
Exploiting Infographics follows on from 10 Lessons in Digital Literacy, which is a collection of lesson plans based around infographics, and looks in more depth at the genre and how infographics can be used as both sources of information and as creative learning tasks for students.
The tasks that accompany the infographics are intended to encourage students to think more critically about the information they are exposed to and to question the sources of information they find whilst browsing the internet. Exploiting Infographics should help teachers to start creating their own tasks, activities and lesson plans for students and to integrate infographics in a way that will enhance students’ critical thinking, digital literacy, language and communication skills. Exploiting Infographics was conceived as part of The Digital Classrooms Series which started with the award winning Digital Video - A Manual for Language Teachers.
The series is intended to help teachers, teacher trainers, materials writers and course designers integrate digital technologies into their classroom practice in a pedagogically sound and impactful way. I hope you enjoy these books and find them useful. Related links:
Nik Peachey

Wednesday, 2 March 2016

10 Lesson Plans to Develop Digital Literacies

Over the last few months I have been working hard to develop a set of commercially available lesson materials. These lesson plans aren't specifically designed for English language learners, though they will be useful for students at higher levels who want stimulating skills based practice or for any teacher interested in developing a CLIL or content based approach to language learning.  They were designed to enable any teacher to develop students in a way that is more closely aligned to the kinds of skills they will need to function effectively and critically in the digital world.

...

I hope you enjoy these lessons and find them useful in developing your students into digitally literate citizens of the 21st century.

Related links:

Best

Nik Peachey

Monday, 11 August 2014

Edupunk and student centred learning through technology

I’ve often wondered why it is that the internet is such an amazing, creative and inspiring place full of so many fantastically interesting things, and yet so many educational software, applications and e-learning products turn out to be so dull.

In many ways this doesn’t make sense because many of the teachers that I meet, especially in the field of ELT, are really remarkably creative people.


Personally, I believe the problem lies in the institutions in which they work, in fact I’m pretty sure of this. Institutions are all about order, stability, control and accountability and to be fair I can understand why that is, but these are hard qualities to enforce on the rapidly changing face of technology.

Educational technology providers are bound by the needs of their customers, who are the institutions, not the teachers or the students, and so the products they produce are limited by those same criteria.

The result is a collection of learning management systems (LMS), interactive whiteboards and digital materials that mimic the traditional processes of institutionalised learning whilst doing little to develop the ‘real life’ skills that students need to negotiate the 21st century world of technological learning and communication and become the autonomous life long learners they will need to be.

So, if the institutions in which we work aren’t providing the tools that we need to deliver the learning our students deserve, what do we as teachers do?

For me, the answer to this is ‘Edupunk.’  Edupunk is a term that was first coined by Jim Groom, an instructional technologist working at the University of Mary Washington and it is a reaction against the attempts of corporate interests and commercialism to reframe learning into commercially defined products and applications.

Edupunk encourages more of a student centred and ‘do it yourself’ approach to the use of technology in education - student centred because it focuses on using the tools and applications students will need and use in their everyday lives, and these are very unlikely to be interactive whiteboards and learning management systems,  and ‘do it yourself’ because it relies on the teacher to assess the needs of the students and work with them to develop materials and activities that will broaden their understanding and use of these tools and help them to apply them to learning.

Of course this puts a considerable burden onto teachers and demands that they broaden their knowledge of technology and develop the ability to utilise an ever widening range of tools to help students achieve their learning goals.

In the training work that I do with teachers around the world I try to focus on a very broad range of tools and web based applications, so much so that I’m often asked, ‘Well isn’t there one tool or one place we can go that can do all this?’ but I’m sad to say that I don’t think there is a ‘one tool’ solution and I’m not really sure that there should be.

A one stop solution moves us back to the LMS and  being prescriptive about tools for containing learning, when learning should be about removing the boundaries on curiosity and discovery and learning how to cope with constant change.

The good news is that in the post ‘Web 2.0’ age of mobile and web-based applications, apps has enabled us more than ever before to access a world of ‘real life’ tools and applications that we can adapt to the educational needs of our students and in many cases these don’t cost us a cent.

I curate and regularly update a collection of these apps on one of my scoop.it sites: Tools for Teachers and Learners


At present the site has in excess of 400 different web-based and mobile tools.

All of these tools come with their unique problems and challenges, especially if you want to use them within an institution that has a tightly controlled IT infrastructure, where social networking functionality, installing browser plug ins and many interactive scripts are blocked. This doesn’t however stop you creating materials and activities that students can access from outside the institution. In fact getting students working with web based tools at home can have a far greater impact on their learning than using them in the controlled classroom environment.

So, what’s stopping you? If you want to create student-centred learning that develops students’ language and digital literacies while also tapping into their creativity, everything you need is out there. Good luck and I hope you enjoy the adventure.


Related links:


Best
Nik Peachey